This tutorial describes how to configure your systems to use them within a Message Oriented Middleware scenario that uses WildFly HornetQ as a JMS provider. With the following steps, it is possible to implement a .NET application that communicates with Java EE applications via JMS topics and/or queues. It can subscribe to topics, receive and send messages. The communication operates over the Stomp protocol. HornetQ, the standard JMS provider in WildFly Application Servers, can handle this protocol. In order to use it from .NET, the .NET application will resort to Apache.NMS.Stomp. However, to account for some HornetQ specifics, a slightly modified version has to be used.
Configure HornetQ
To enable JMS in your WildFly server, the configuration file standalone.xml has to be modified. Changes can be found in the diff file. Add the lines that are marked with '+' at the beginning of the line to your configuration file.
To provide a queue within the WildFly you can either specify them within the configuration file of the server, or by providing a file META-INF/hornetq-jms.xml within your EJB project. We recommend using the last method, as it is easier to handle within the group (see also JMS_Example).
To provide a topic 'CustomerTopic' the file should contain the following:
<?xml version="1.0" encoding="UTF-8"?>
<messaging-deployment xmlns="urn:jboss:messaging-deployment:1.0">
<hornetq-server>
<jms-destinations>
<jms-topic name="CustomerTopic">
<entry name="/topic/CustomerTopic" />
</jms-topic>
</jms-destinations>
</hornetq-server>
</messaging-deployment>
Implement .NET client
- Download the ZIP archive with necessary DLLs. It contains .NET 4.0 assemblies of Apache.NMS API v1.5.0 and Apache.NMS.Stomp v1.5.1. The latter has been modified to work with HornetQ's naming scheme. The binary DLLs are all you need, however, if you want to, you can download the source code.
- Copy the DLLs from the archive somewhere into your solution folder on the file system, for example into a new folder called Libraries.
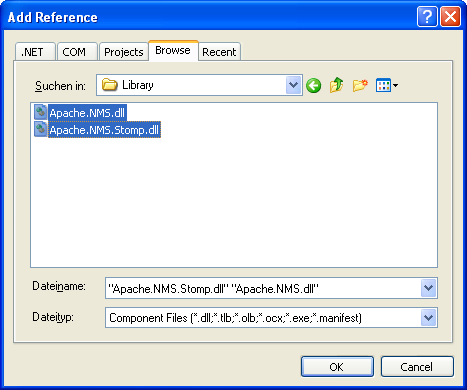
- Reference both DLLs from the Visual Studio project which will act as the communication layer. Use the "Browse" tab of the "Add Reference" dialog to locate the DLLs.
- You can now use the NMS API (namespace Apache.NMS) to communicate with JMS/HornetQ. Have a look at the .NET project from the JMS example on how to subscribe to a topic and handle messages. You should restrict yourself to the message types TextMessage or BytesMessage - other message types are not supported in this scenario.